 AZ TOOLS

AZ Marker Wrap
Fit one mesh onto another through landmark pairs: every marker lands exactly on its target, the rest of the mesh follows a smooth field, and an optional snap hugs the target surface.
- Deformer
- Version 1.1.1
- Maya 2025 – 2027
- Windows
- Licensed
- Plug-in: Marker Wrap MLL (free)
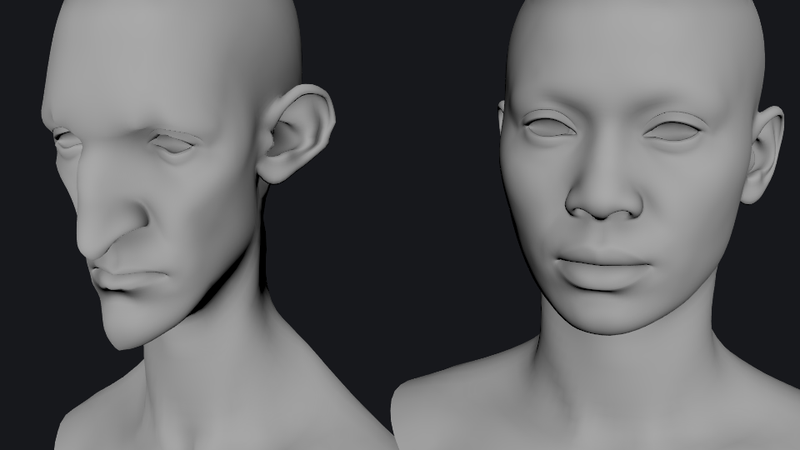
A minimal example
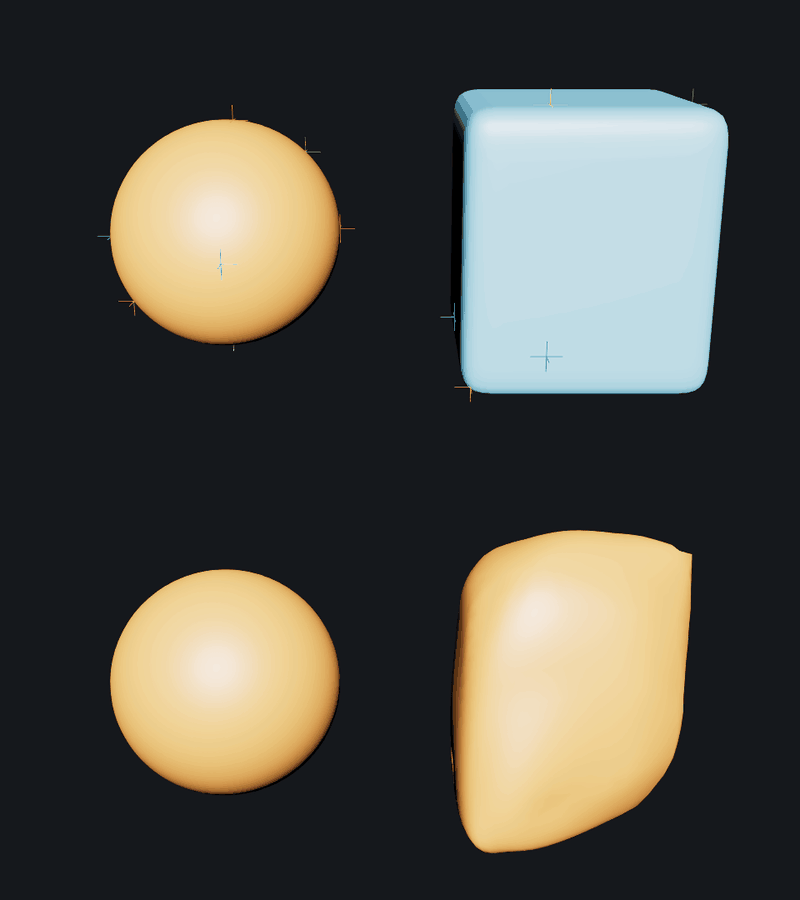
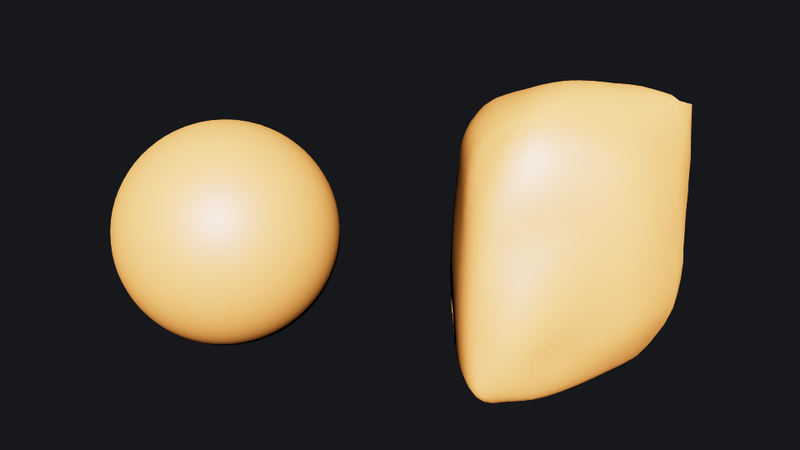
What it does
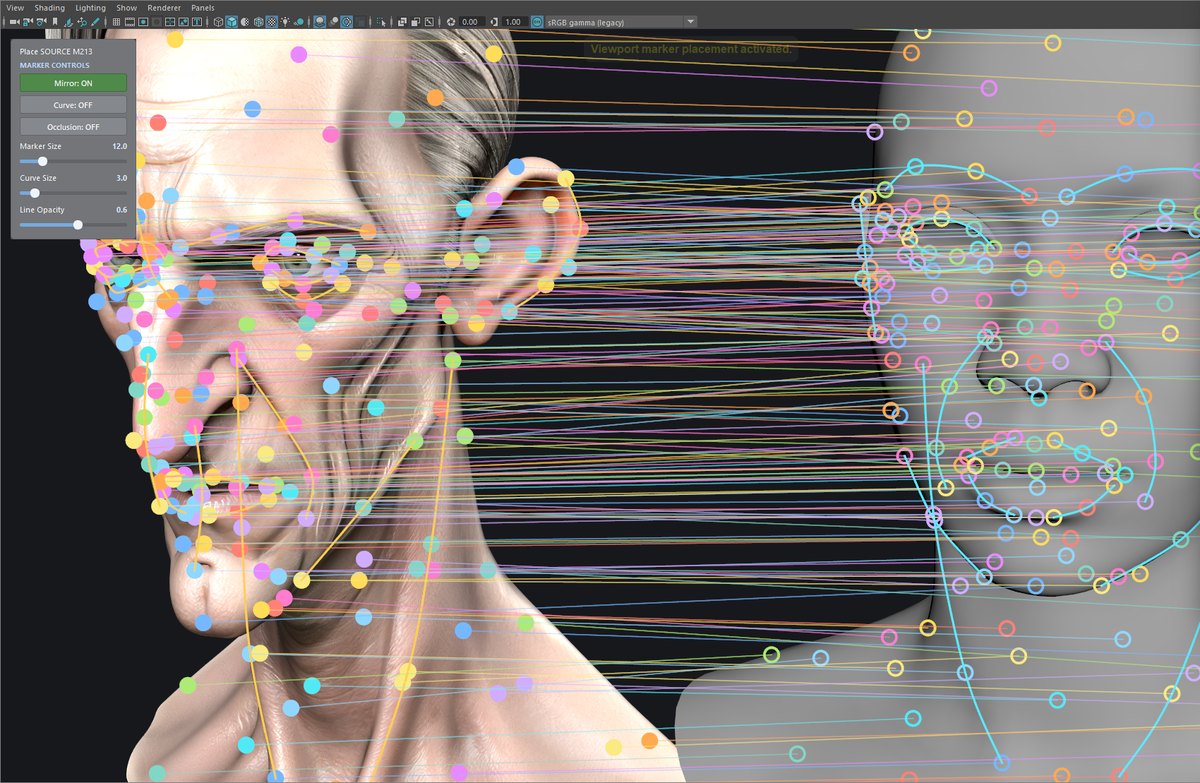
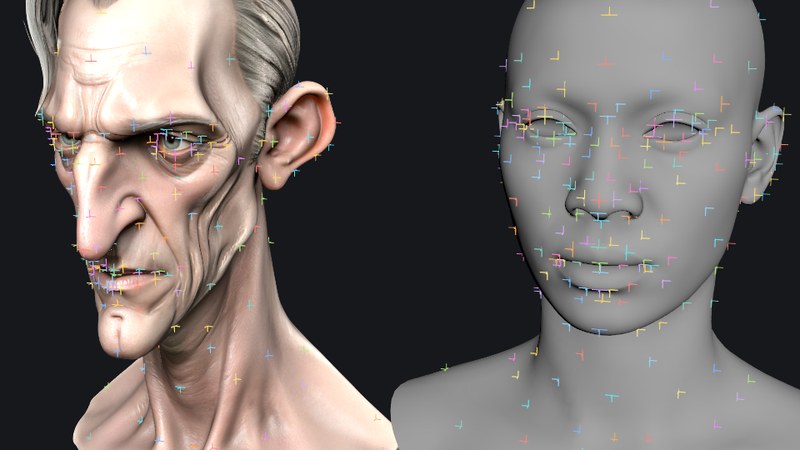
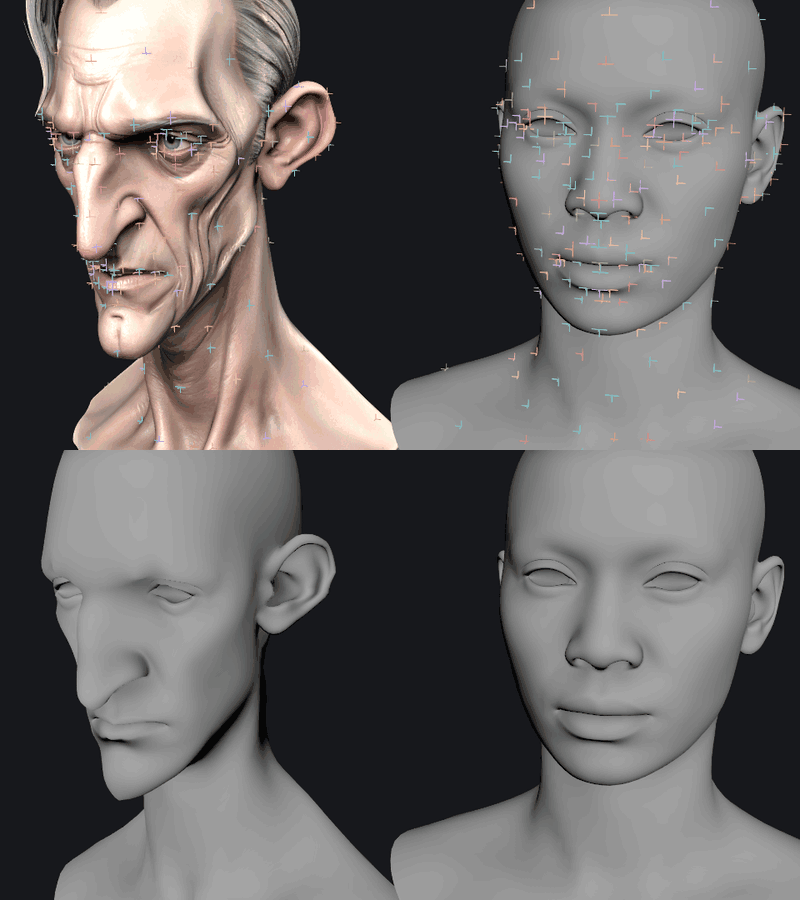
Select the source mesh and the target mesh, create a session, place corresponding marker pairs, press Compute. The source is warped so that every marker lands exactly on its target position and everything in between follows a smooth thin-plate-spline field. Raise Snap To Target and the rest of the geometry conforms to the target surface as well.
The output is a new mesh with the source's topology: a base head fitted to a scan, a generic body onto a character, a garment onto a new figure, a blend-shape target moved from one model to another.
Workflow
- Select the source mesh, shift-select the target, type a session Name and press Create Session.
- Place landmark pairs. Press Place Markers for interactive placement in Viewport 2.0: hover the source for a live preview, click to pin the source marker, click the target for its counterpart, and the next pair starts by itself. At least four pairs, spread out and not coplanar. Or select one point on each mesh and press Add Marker Pair.
- Open Compute. Snap To Target 0 is a pure landmark warp, 1 conforms fully to the target surface; set the Snap Falloff Radius (or press Auto) so markers stay exact while distant geometry hugs the target.
- Use the Smoothing group to relax folding a sparse landmark set can leave between markers; the same falloff keeps the pins exact.
- Press Compute. Nudge markers by hand and compute again until it is right.
Live deformer. Build Live Deformer (C++) adds a compiled version of the same warp on a fresh duplicate. The markers stay connected, so dragging one re-deforms the mesh through normal Maya evaluation. That node is the free AZ Marker Wrap MLL plug-in.
The window
- Session
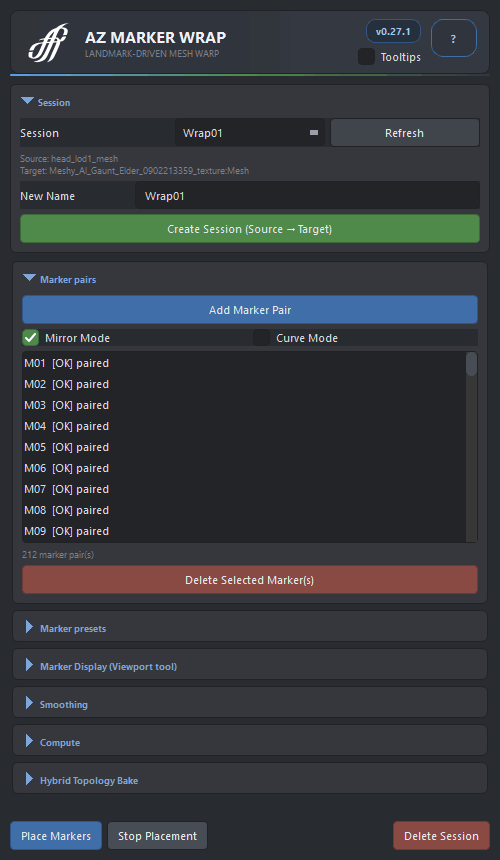
- Sessions in the scene, New Name, Create Session; the source and target meshes are linked by connection, so renames do not break them.
- Markers
- The pair list with colours, Add Marker Pair, delete, save and load marker sets, Mirror Mode (one click places the L/R twin as well), Curve Mode for guide pairs.
- Marker display
- Size, contour size and opacity of the viewport HUD, mirror and curve toggles.
- Compute
- Output name, Snap To Target, regularization, Snap Falloff Radius with Auto, Compute.
- Smoothing
- Laplacian strength, iterations and falloff radius.
- Quality
- The offline Quality Bake: normalized TPS plus screened ARAP, guarded target-surface fitting, paired eye and lip contours, and the Hybrid Topology Bake with ARAP Correction for stretched topology.
- Footer
- Place Markers / Stop Placement, Build Live Deformer (C++), Delete Session.
How it works
- Thin plate spline. The marker pairs define a smooth 3D interpolation that is exact at every marker and reduces to a plain affine transform when the landmarks allow it. No smoothing is applied away from the markers; the field is what carries the rest.
- Snap with falloff. The optional second stage blends each vertex towards the closest point on the target surface; the blend ramps from zero at a marker to the full value at the falloff distance, so pins never drift.
- Relax what folds. A uniform Laplacian pass, ramped by the same distance from the nearest marker, relaxes local folding between sparse landmarks and leaves the pinned areas alone.
- Pairing by name. Markers are plain locators named by index,
<session>_M01_SRCand_TGT, so a pair can be deleted or re-placed without touching the others. - Placement in the viewport. The interactive placement is a compiled Viewport 2.0 tool with hover previews, Shift+click to reposition, Ctrl+click to delete a pair, double-click to frame it; without the plug-in a simpler click-only tool takes over.
Good to know
- If the wrap only pulls the markers into place and the rest stays close to the original shape, raise Snap To Target: markers alone only guarantee the landmarks.
- Pure Python computation needs no plug-in; the live deformer and the full placement tool use the free AZ Marker Wrap MLL, built for Maya 2025 to 2027.
- Alt+click is not available while placing: Maya hands Alt to camera navigation before any tool sees it.
Availability
AZ Marker Wrap is a licensed product of AZ Tools, in the Deformer category, for Maya 2025 to 2027. It is listed in the AZ Tools Manager for every account and installs once a license key is activated. The live deformer and placement plug-in, AZ Marker Wrap MLL, is free for every registered account.
Get AZ Tools Manager