 AZ TOOLS

AZ Curvenet Builder
Curve-driven deformation on top of the rig you already have: profile curves on the mesh, controls that bend them, and one sparse deformer that follows the skin.
- Rigging
- Version 0.6.0
- Maya 2023 – 2027
- Windows
- Licensed
- Plug-in: Curvenet Deformer (free)
What it does
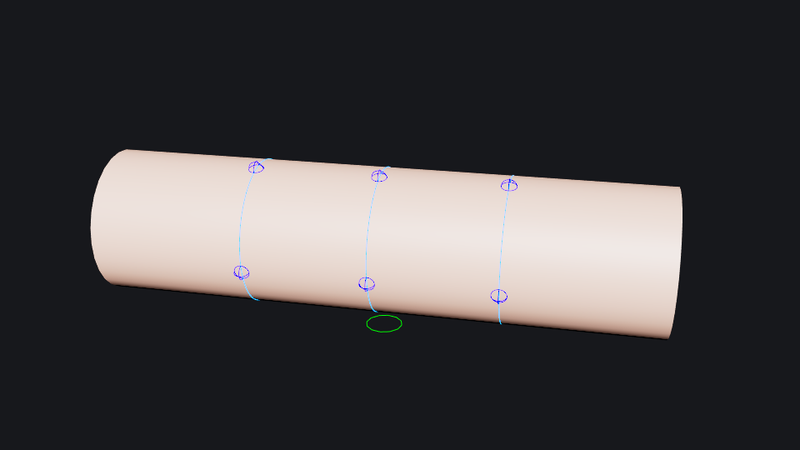
Pick edge loops on a mesh, give the system a name, press BUILD CURVENET. The loops become profile curves, every curve gets controls, and the mesh is deformed by a single curve-network deformer whose influence you paint per curve. The controls ride the existing rig, so the layer works on a skinned character as well as on a static prop.
It is a shaping layer, not a replacement for the skin: wrinkle lines on a sleeve, the edge of a collar, the ridge of a brow, a muscle line on a forearm, anything that wants a curve the animator can bend and that must keep following the body.
Workflow
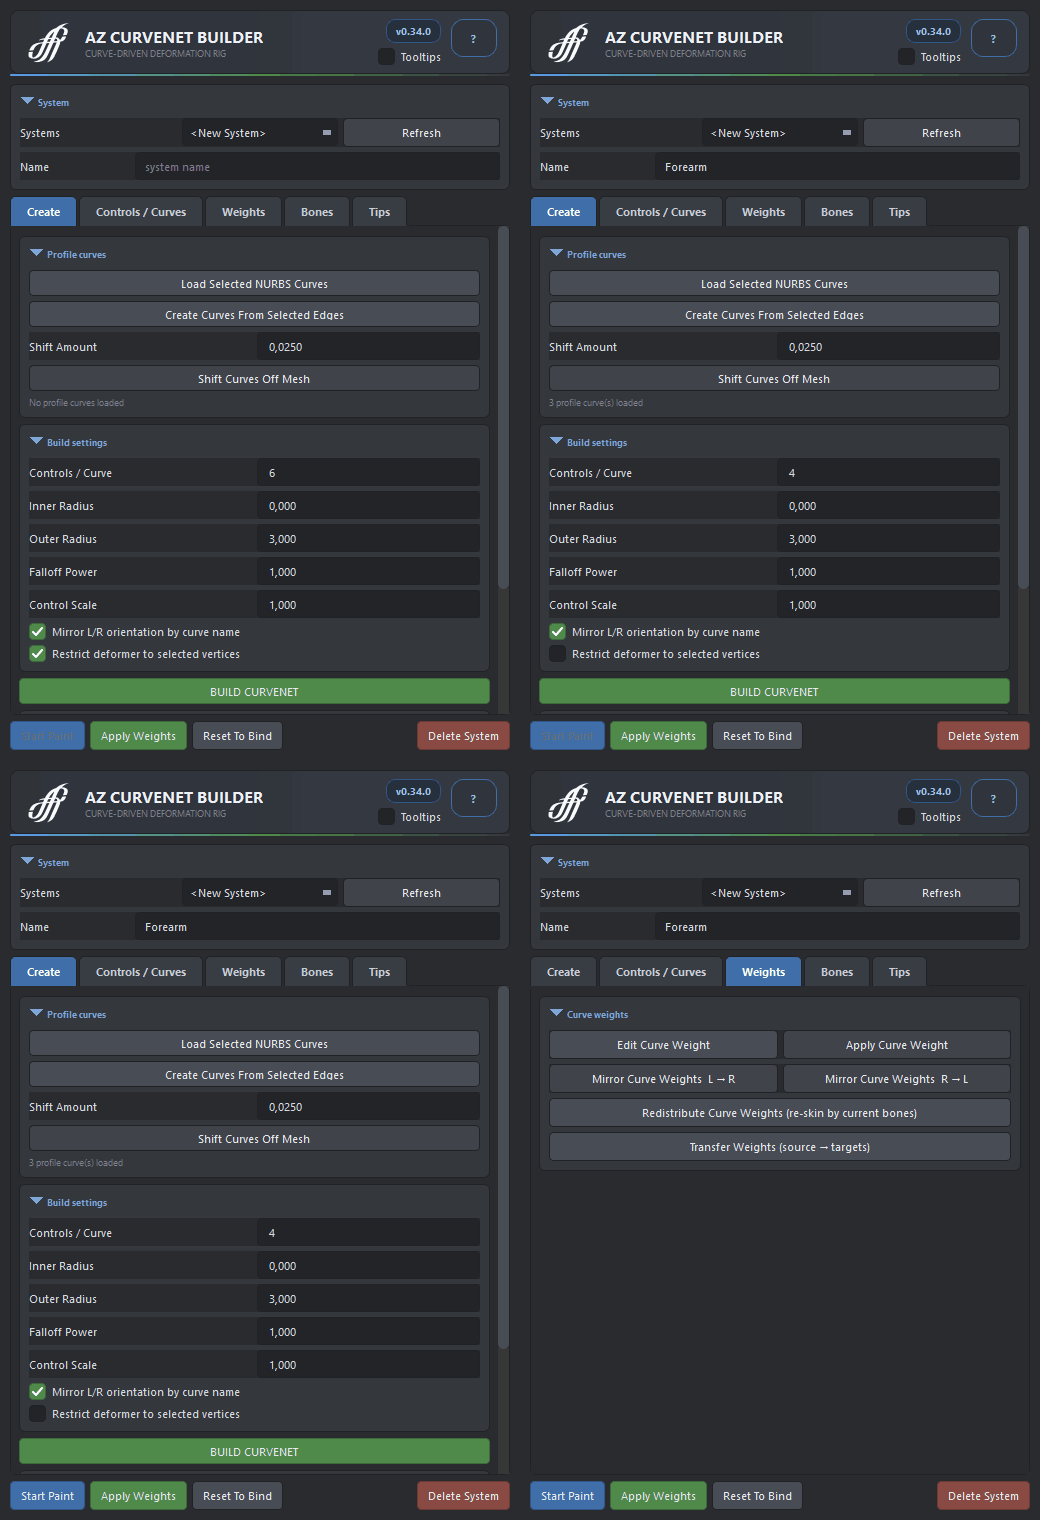
- Type a Name for the system. Several systems can live on one mesh; the name keeps their nodes apart.
- Make profile curves: select edge loops and press Create Curves From Selected Edges, or select NURBS curves you drew yourself and press Load Selected NURBS Curves.
- Select the mesh (or only the vertices to deform) and press BUILD CURVENET. The driver curves are skinned to the controls automatically, so their influence stays editable.
- Reposition controls: Create Setup Markers, slide their Slide attribute along the curve, optionally Merge Selected Markers, then Rebuild From Markers.
- Start Paint to paint the deformer weights of a curve; Apply Weights commits them.
Build in the bind pose. The rest curves and the pins are created from the current shape of the mesh; a system built in a pose follows that pose as its zero. If a squash or a lattice under the system makes the rest and the driver curves drift apart later, Fix Rest Tracking re-skins the rest curves to the tracking joints.
The window
- Create · System
- Name of the system and the Systems list of the scene; picking one loads it, Refresh rescans.
- Create · Profile curves
- Create Curves From Selected Edges, Load Selected NURBS Curves, Shift Curves Off Mesh to push curves off the surface by a distance.
- Create · Build settings
- Controls per curve, Inner and Outer radius of the influence, its Falloff power, control Scale, Restrict to selected vertices, mirrored L/R orientation by curve name.
- Create · Extend system
- Add meshes to an existing system, transfer weights between meshes, add corrective curves.
- Controls / Curves
- Setup markers (create, add on curve, merge, delete, mirror L → R / R → L), control mirroring, control size, reset to bind, tag sides.
- Weights
- Paint the deformer weights per curve with the brush (falloff, smoothing, isolate, live mirror), Apply Weights; edit, apply and mirror curve weights.
- Bones
- Add Curve Bones: joints that ride the curves and skin the mesh as an export layer; game-bone baking to a skeleton.
- Tips
- Quick actions such as hiding and showing all curves.
How it is built
- One deformer, many curves. All profile curves of a system are combined in one custom
azMultiCurveDeformernode with an independent vertex weight array per profile. The node is the free AZ Curvenet Deformer plug-in, so a scene opens and deforms on any computer that has it. - Controls follow the rig. Every control is pinned to a pre-Curvenet copy of the geometry through one proximityPin node: skin the character, pose it, and the curves move with the body before they bend it.
- Rest and driver curves. Each profile has a rest curve, skinned to tracking joints under the zero group, and a driver curve skinned to the controls. The deformer reads the difference, so a control that is not moved changes nothing.
- Names are not identity. Controls and bones are named after their curve, but the tool finds everything through tags, sets and message links, so renaming never breaks a system and several systems can share a mesh.
- Multi-mesh. One system can deform several meshes; weights are painted on the active mesh.
Good to know
- The deformer plug-in is a separate, free package: install AZ Curvenet Deformer on every machine that opens the scene. The builder itself is only needed to create and edit systems.
- A rebuild inherits the system's curves; load fresh curves only for a new system.
- Painting works per curve: isolate the active one to see its influence alone, and mirror live across X while painting.
- Curve bones start with zero skin weights on the mesh: they are a layer for export, painted on top of the existing skin.
- An emergency Disable switches a system off without deleting it.
Availability
AZ Curvenet Builder is a licensed product of AZ Tools, in the Rigging category. It is listed in the AZ Tools Manager for every account and installs once a license key is activated. The deformer it drives, AZ Curvenet Deformer, is free for every registered account.
Get AZ Tools Manager