 AZ TOOLS

AZ Contact Deformer
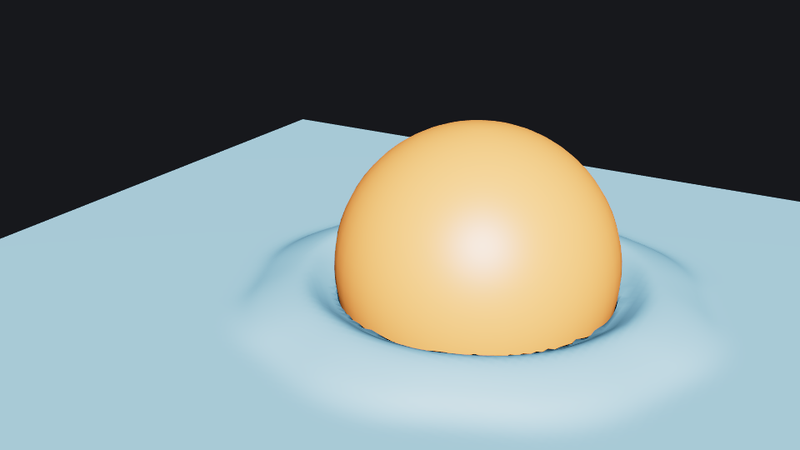
Where a mesh runs into a collider it flattens against it, and the displaced volume is pushed out around the contact. No simulation: the result depends only on the current pose.
- Polishing
- Version 0.17.2
- Maya 2023 – 2027
- Windows
- Licensed
- Plug-in: Contact Deformer MLL (free)
What it does
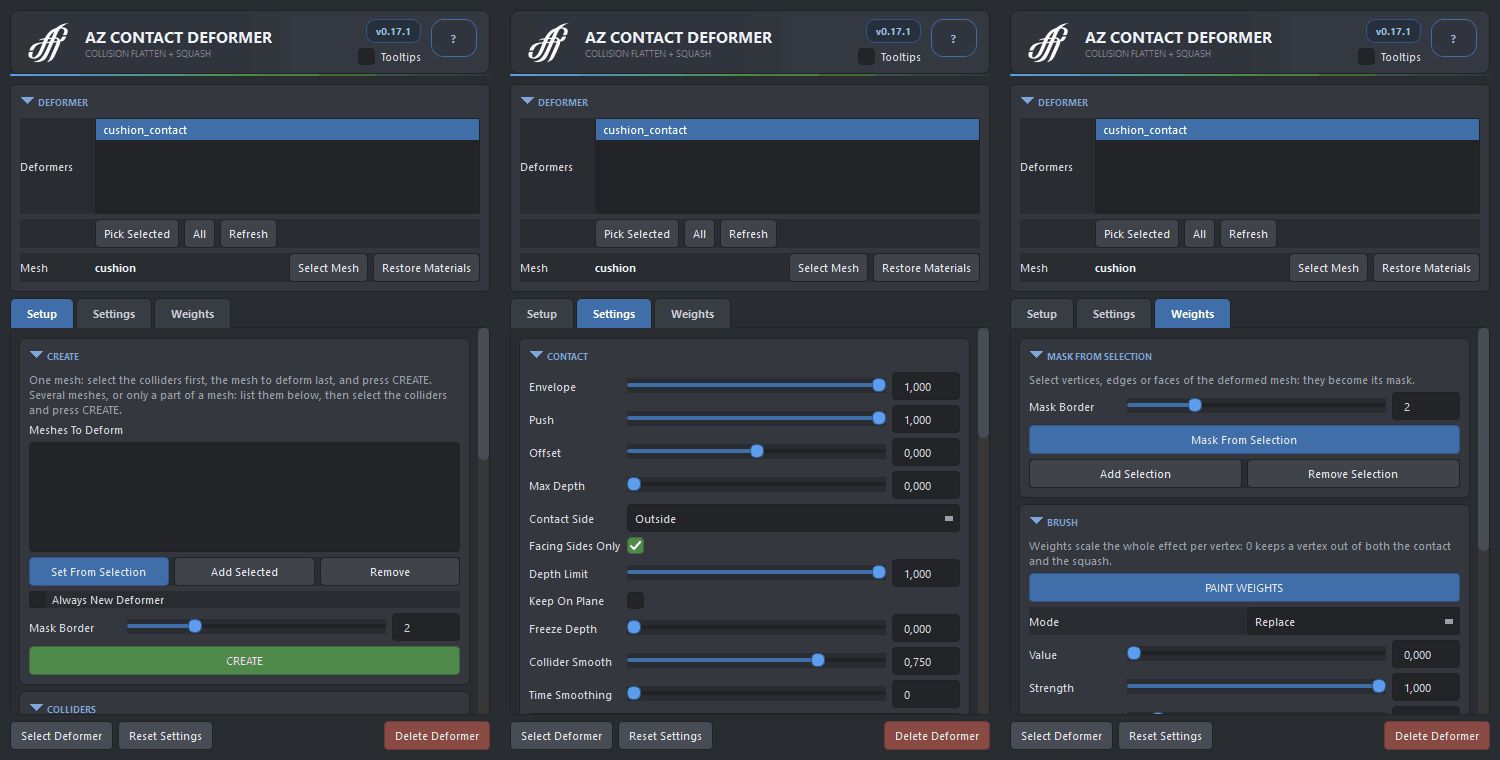
Select the collider meshes, then the mesh to deform last, and press CREATE. The deformer is added at the end of the deformation chain, after the skinCluster. Pose or play the animation and tune the squash, the volume and the profile on the Settings tab; the edits are live and undoable.
It is a polishing layer: a hand on a cheek, a belt into a belly, a foot on a cushion, a sleeve over an arm, a prop pressed into a palm. The node itself is the free AZ Contact Deformer MLL plug-in, so a scene keeps evaluating on any machine; the editor is what you license.
Examples
Clips from the tool's own test scenes. Every one is the deformer alone, driven by the animated pose: no simulation, no caching.
Workflow
- Select the collider mesh or meshes, then the mesh to deform last, and press CREATE.
- Pose or play. Tune Squash Radius, Squash, Volume and the Profile on the Settings tab while watching the contact.
- Paint the deformer weights on the Weights tab to keep parts of the mesh out of it, or create the deformer masked to selected components from the start.
- For a mesh made of many shells, such as a boot, switch on Use Proxy: one closed skin around the whole mesh solves the contact and hands the result on, so all the shells move together.
- Add more colliders or covers later with Add Selected; several meshes can be set up at once with the same colliders.
Two meshes colliding with each other. Put a deformer on each and add the other mesh as its collider; the helpers feed both deformers the geometry from before the contact, which keeps the pair out of a dependency cycle. Set Push to 0.5 on both so they meet halfway.
The window
- Setup
- The Deformers list of the scene (Ctrl / Shift to edit several together), Meshes To Deform, Colliders and Covers with add and remove, the Proxy block (Use, Remove, Rebuild, Show, Detail), CREATE with Always New Deformer and Mask Border.
- Settings
- Presets; Contact Side (Outside / Inside), Facing Sides Only, Push, Offset, Depth Limit and Max Depth, Keep On Plane; Squash Radius, Squash, Volume, smoothing; the contact Profile curve with edge value and peak position; Time Smoothing with Prepare.
- Weights
- Mask From Selection, Add and Remove Selection, Flood, Smooth, Invert, the mirror buttons, and PAINT WEIGHTS with radius, strength and softness.
How it works
- Project and redistribute. Vertices that end up inside a collider are projected onto its surface, so the contact patch flattens against it; the volume they lost is handed out around the patch as a bulge, shaped by the profile curve and measured along the surface so it does not jump across a gap.
- A limiter, not a carrier. Only what is inside the collider moves; the deformer limits the mesh and never drags it along. With Facing Sides Only the patch leaves the collider as a whole, in one direction, through the sides that face that way.
- Outside and Inside. An outside collider presses in from outside (a hand, the ground). An inside collider, an arm in a sleeve, pushes the cloth out along its own normals and never through the far side of the arm.
- Proxies and covers. A proxy is a closed skin built from the mesh before its deformers; covers let a garment's inside and rim find a cover mesh instead of the collider.
- Time smoothing. An optional memory of the frames already evaluated averages the contact over time; Prepare plays the range through so a render or an export starts with the full memory.
Good to know
- Install the free AZ Contact Deformer MLL on every machine that opens the scene; the editor is only needed to set contacts up and tune them.
- Colliders are volumes: a thin sheet is pierced as soon as the mesh passes its middle. Use a thick proxy collider, or an open plane as a one-sided wall with Max Depth.
- Keep On Plane leaves a mesh on a plane however far the plane goes: sweep a plane through a character and it stays flattened on it.
- On a mesh that also carries AZ Wrinkle or AZ Curvenet, opening this window puts a contact deformer that an older save left out of the chain back where it belongs.
- Mirror buttons pair vertices by position across world X, so use them in the bind pose.
Availability
AZ Contact Deformer is a licensed product of AZ Tools, in the Polishing category. It is listed in the AZ Tools Manager for every account and installs once a license key is activated. The node it drives, AZ Contact Deformer MLL, is free for every registered account.
Get AZ Tools Manager